Sending Email
Setting Up Resend
Section titled “Setting Up Resend”-
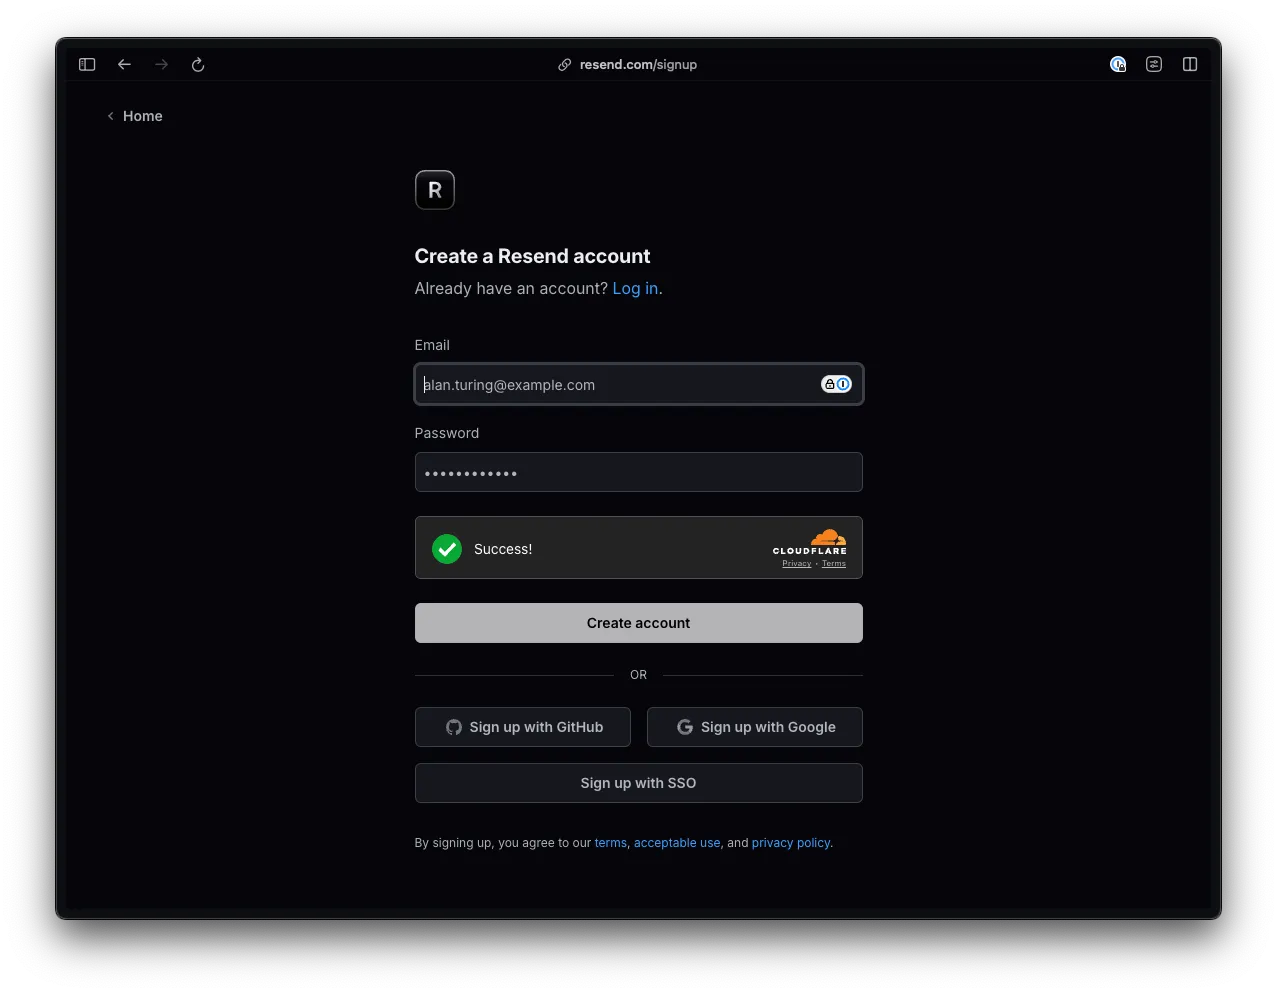
Go to Resend and click on Get Started to create an account.
-
Once you’ve created an account, you’ll be redirected to a page with instructions for sending your first email.
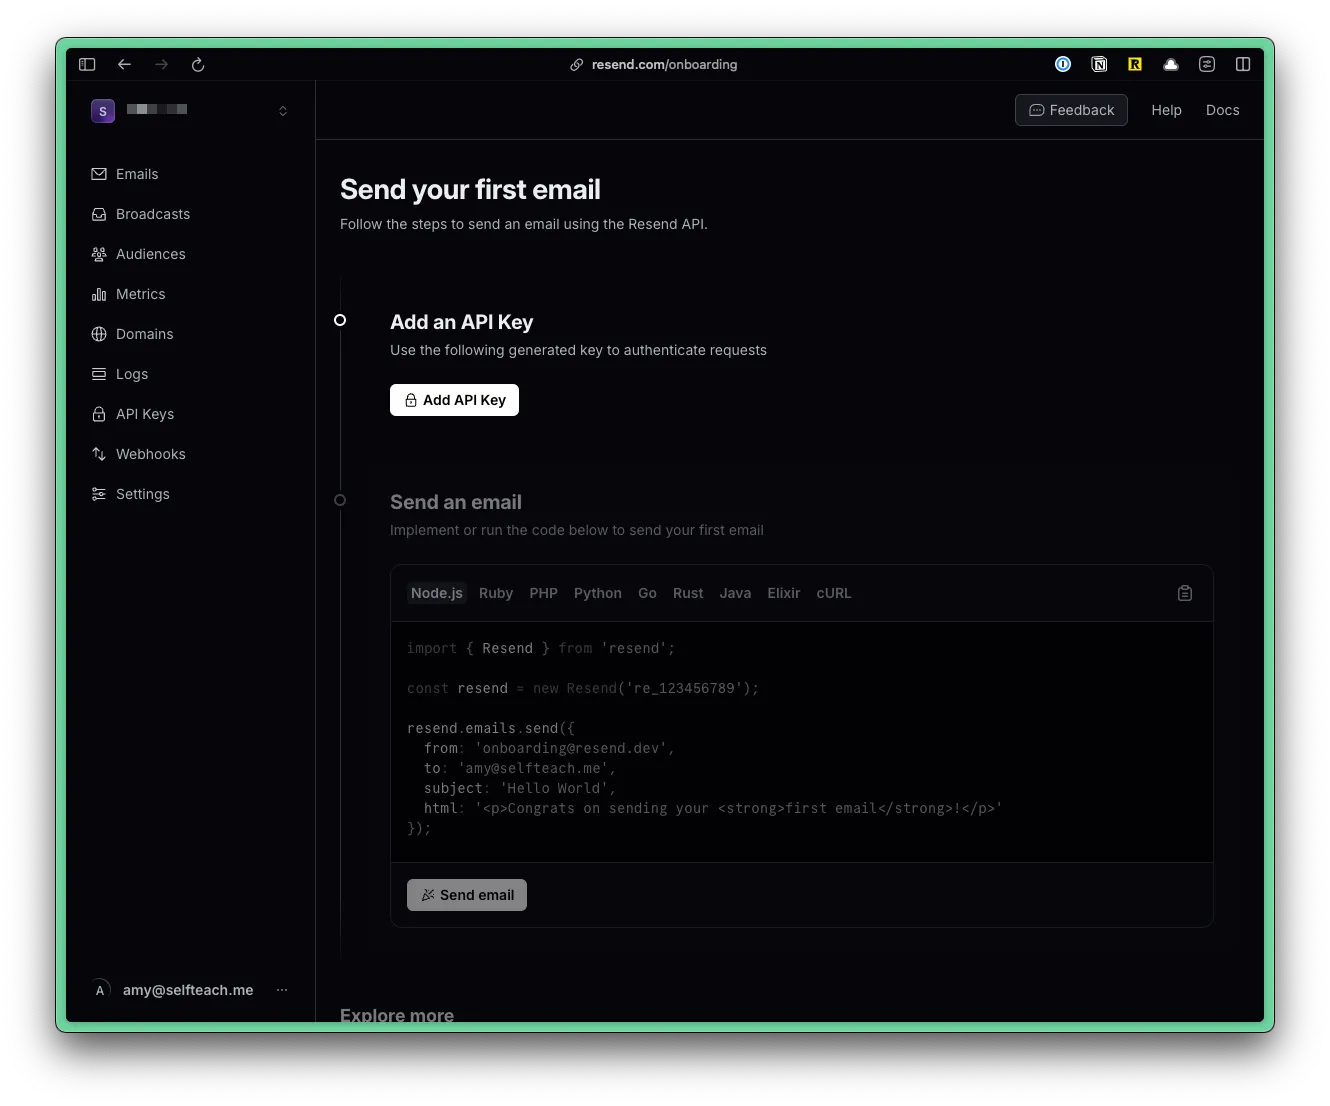
Create an API key by clicking on the “Add API Key” button.
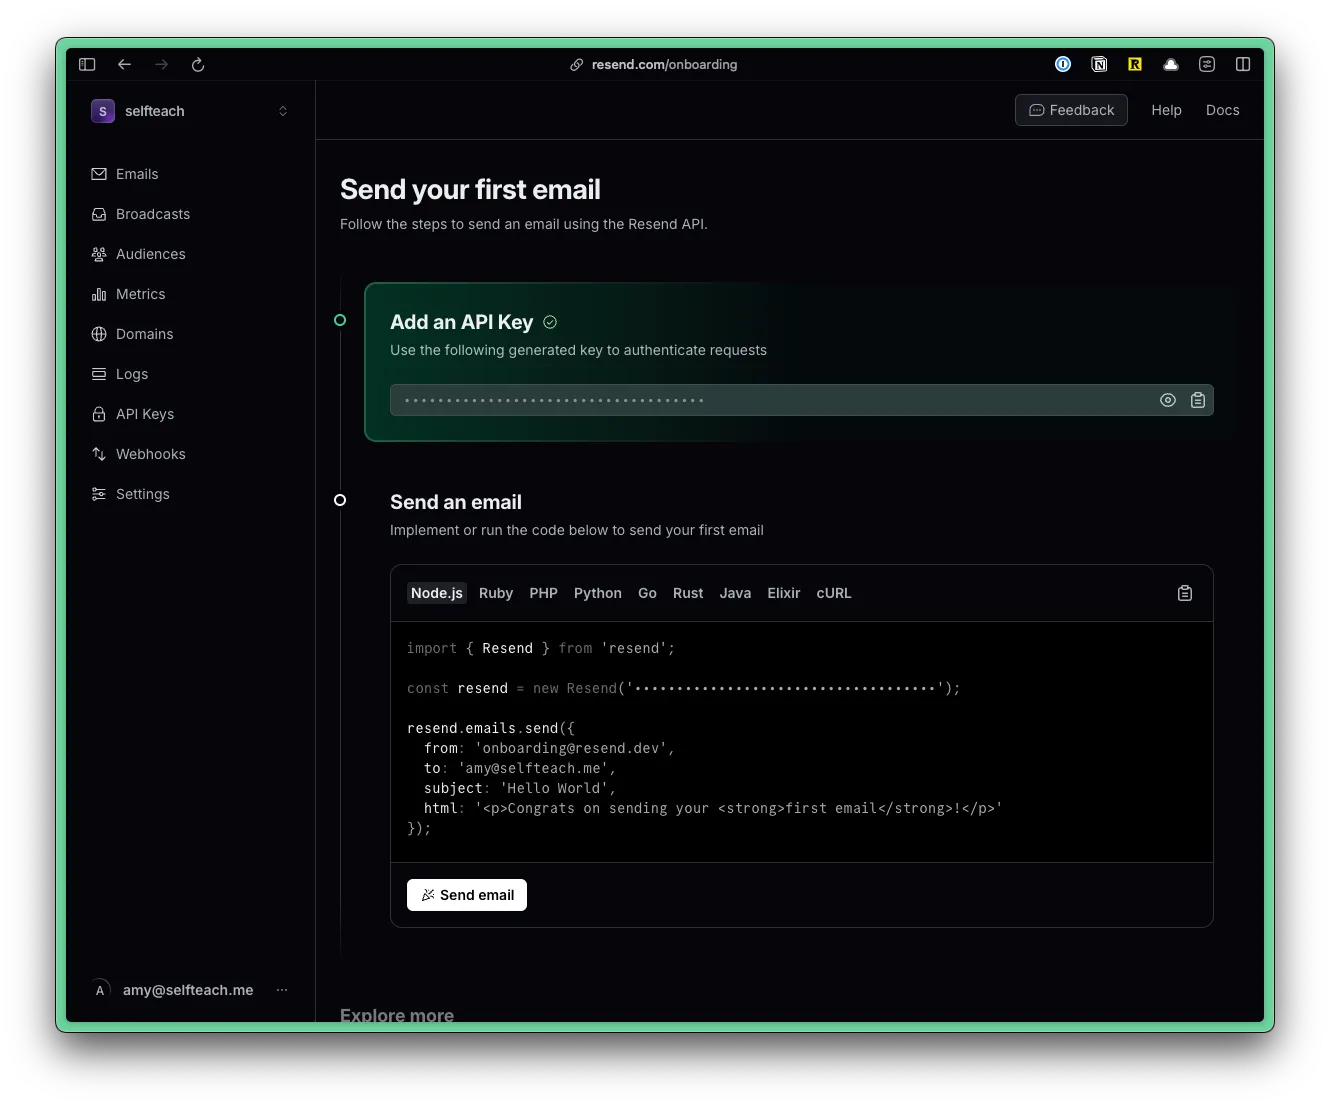
Copy the API and go to your .env file. Add a variable called RESEND_API and paste your key:
RESEND_API=re_1234567890Cloudflare uses a
.dev.varsfile for environment variables. But, the common practice is to use a.envfile. So, we’ve created a symlink for you. Anytime you make a change to the.envfile, it will automatically update the.dev.varsfile.If you’re missing the
.dev.varsfile, as soon as you runpnpm dev, it will be created for you. -
Install the Resend package. Within the Terminal, run:
Terminal window pnpm add resend
Your setup is complete! 🥳 Now, we can send email.
Sending Email
Section titled “Sending Email”Now, we can send email.
import { Resend } from "resend";
const resend = new Resend(env.RESEND_API);const { data, error } = await resend.emails.send({ from: "Acme <onboarding@resend.dev>", to: email, subject: "👋 Hello World", text: `Hello World`,});When using Resend, you can send text, react, or html emails.
Example: Sending Text Email
Section titled “Example: Sending Text Email”const { data, error } = await resend.emails.send({ from: "Acme <onboarding@resend.dev>", to: email, subject: "👋 Hello World", text: `Hello World`,});Example: Sending React Email
Section titled “Example: Sending React Email”const Email = ({ name }: { name: string }) => { return <div>Hello {name}</div>;};
const { data, error } = await resend.emails.send({ from: "Acme <onboarding@resend.dev>", to: email, subject: "👋 Hello World", react: <Email name="John" />,});Resend also backs the React Email project. This library includes unstyled components and the Tailwind CSS support. More under Email Templates.
Example: Sending HTML Email
Section titled “Example: Sending HTML Email”const { data, error } = await resend.emails.send({ from: "Acme <onboarding@resend.dev>", to: email, subject: "👋 Hello World", html: "<h1>Hello World</h1>",});Test Emails
Section titled “Test Emails”Resend provides a set of safe email addresses specifically designed for testing, ensuring that you can simulate different email events without affecting your domain’s reputation. Resend Documentation
A lot of developers will use @example.com or @test.com for testing. However, these addresses will often reject messages, leading to bounces. A high bounce rate can negatively impact your sender reputation and affect future deliverability. Therefore, Resend will return a 422 error if you attempt to use these addresses.
Instead, Resend provides the following addresses:
| Address | Delivery Event Simulated |
|---|---|
delivered@resend.dev | Email was delivered |
bounced@resend.dev | Email was bounced |
Constants File
Section titled “Constants File”We recommend creating a constants file to store reusable values. Inside your src/app/shared directory, create a new file called constants.ts.
Directorysrc/
Directoryapp/
Directoryshared/
- constants.ts
Inside the constants.ts file, add the following:
export const CONSTANTS = Object.freeze({ FROM_EMAIL: "Acme <onboarding@resend.dev>",});Now, you can use the FROM_EMAIL constant in your code.
import { CONSTANTS } from "~/shared/constants";...const { data, error } = await resend.emails.send({ from: CONSTANTS.FROM_EMAIL, to: email, subject: "👋 Hello World", text: `Hello World`,});